Publications récentes
-
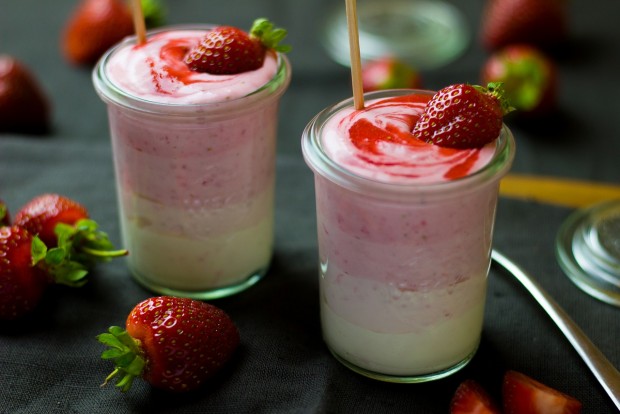
 Quels sont les critères pour bien choisir sa sorbetière ?
Si tout comme moi, vous adorez les glaces et les sorbets, surtout les glaces faits-maison, vous devrez réellement investir dans une sorbetière. D'ailleurs, pour vous aider à trouver l'appareil…
-
 3 recettes faciles à faire avec une plancha de table
Parfaite pour une cuisine saine et naturelle, la plancha de table a conquis la plupart des cuisines. Je loue particulièrement sa capacité à cuire rapidement avec peu de matières grasses,…
-
 3 recettes originales de yaourt maison à la yaourtière
Le yaourt classique est déjà très délicieux en soi, mais je dois avouer que j'aime expérimenter de nouvelles saveurs. Avec des arômes alimentaires, des bonbons, des confitures, des biscuits…
-
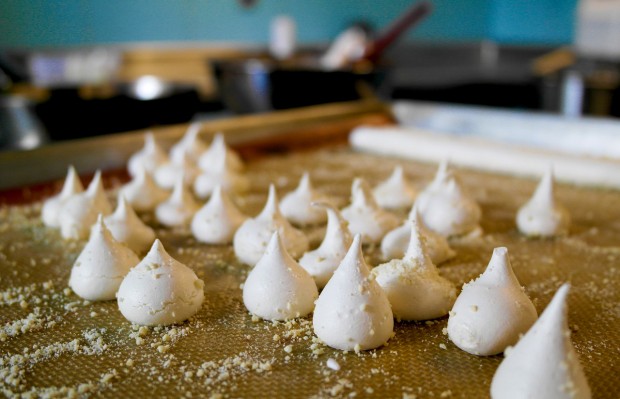 Etre un bon pâtissier : quels sont les outils nécessaires ?
Être pâtissier est un métier à part entière. Mais il faut surtout être bien équipé et savoir utiliser les outils indispensables. Je vais vous partager les matériels nécessaires pour la…
-
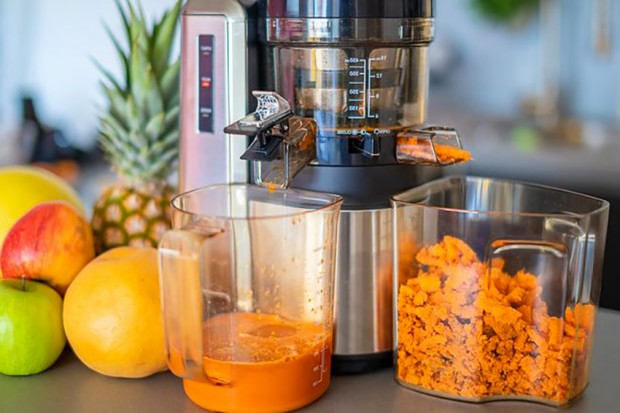 4 recettes faciles de jus détox pour faire une cure détox
Après Noël, avant l'été et surtout à la suite d'une fête alcoolisée, c'est le moment idéal de faire une bonne détox pour son corps ! Rien de plus économique et de plus facile que de le…
-
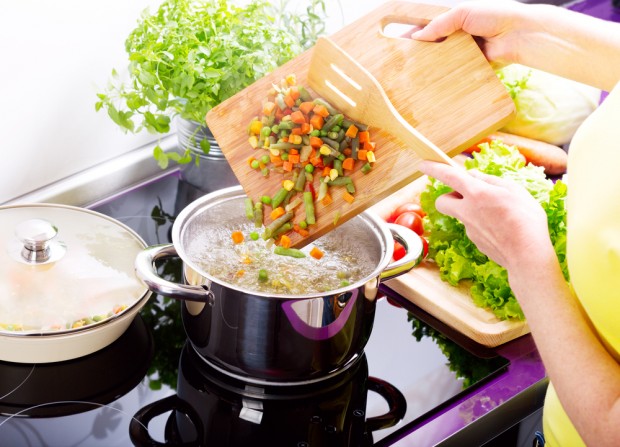
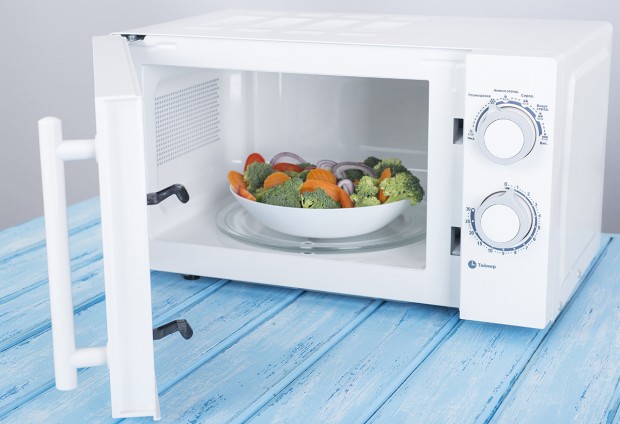 Comment cuire simplement des aliments à la vapeur ?
Les méthodes de cuisson de différents aliments ont été maintes fois revisitées par bon nombre de précurseurs en la matière. Celles-ci résultent d'une multitude d'expériences depuis plusieurs…
-
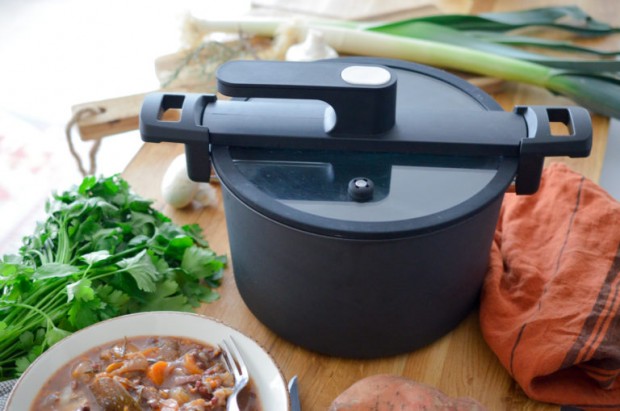 Cuisson sous pression : fonctionnement, avantages, inconvénients et limites
À travers plusieurs générations, les mordus de cuisine se sont évertués à trouver comment cuire les différents aliments via divers procédés. Actuellement, différents types d'ustensiles…
-
 Comment préparer son thé ? Les 4 points importants
Depuis plusieurs générations et à travers le monde, le thé occupe une place prépondérante dans presque toutes les civilisations. Certains pays comme le Japon vont jusqu'à en faire une cérémonie…
-
 Mes 2 recettes de gaufres originales (vegan et au thé matcha)
Lorsqu'on est vegan, on a souvent tendance à se demander comment faire pour manger de bonnes choses sans pour autant s'écarter de ses convictions. Certes, les points de restauration actuels…
-
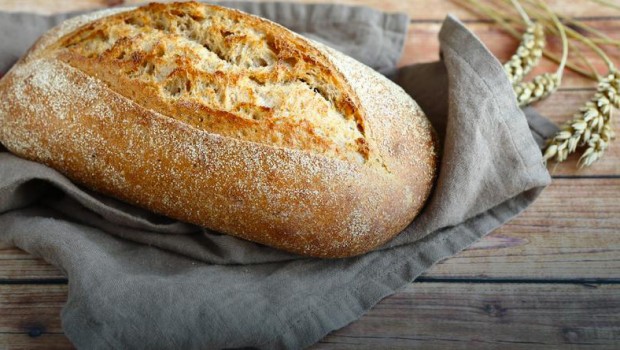 Pourquoi le pain complet est-il meilleur que le pain blanc ?
Dans le domaine culinaire, le pain a toujours tenu une place prépondérante à travers le temps. De ce fait, certaines civilisations antérieures et même jusqu'à nos jours ne peuvent s'en…
-
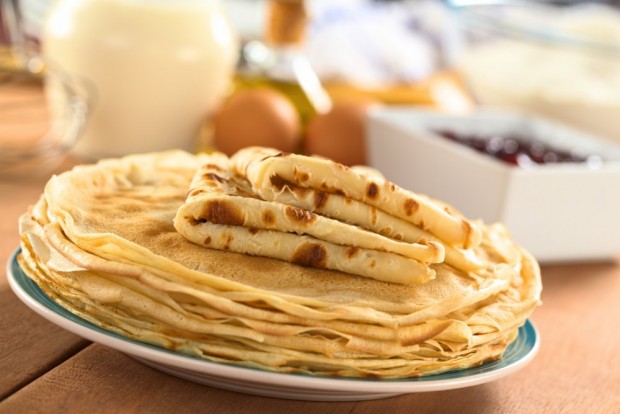 4 astuces pour réussir ses crêpes comme un chef
Réaliser soi-même ses crêpes nécessite quelques connaissances de base. Que ce soit pour le choix des ingrédients, la préparation de la pâte et notamment pour le mode de cuisson, il faut…
-
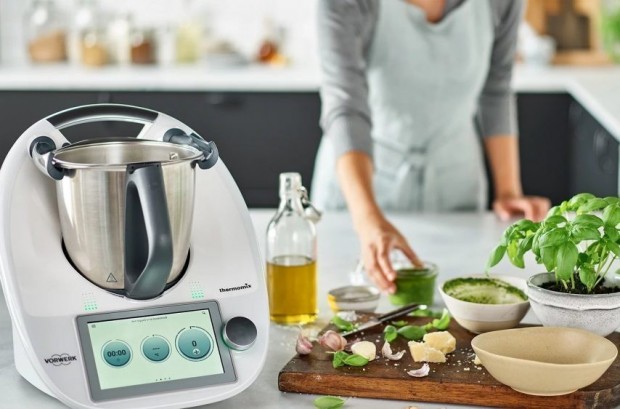 Quels plats peut-on cuisiner avec un robot cuiseur ?
Les robots cuiseurs connaissent un grand succès auprès des ménages français ces dernières années. Véritables assistants culinaires, ils promettent de vous aider de A à Z dans la réalisation…
-
 Les bienfaits des soupes maison sur la santé
Cet hiver, une bonne soupe met toujours chaud au cœur, surtout lorsqu'elle est préparée avec amour. Ma mère, comme ma grand-mère, adorait réaliser des soupes maison. Enfant, je ne les aimais…
-
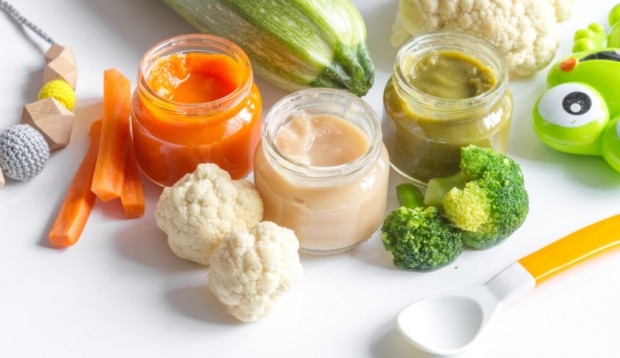 La diversification alimentaire pour bébé : comment ça marche ?
L'alimentation d'un bébé constitue souvent un vrai casse-tête pour les nouveaux parents. Cela s'explique par le fait que, ses organes digestifs sont encore tellement fragiles, contrairement…
-
 Pourquoi consommer du café Nespresso au quotidien ?
Le café est une boisson miraculeuse sans laquelle plusieurs personnes ne peuvent débuter leur journée. Un bon café, bien corsé est le meilleur booster. Aujourd'hui beaucoup d'amateurs ne…
-
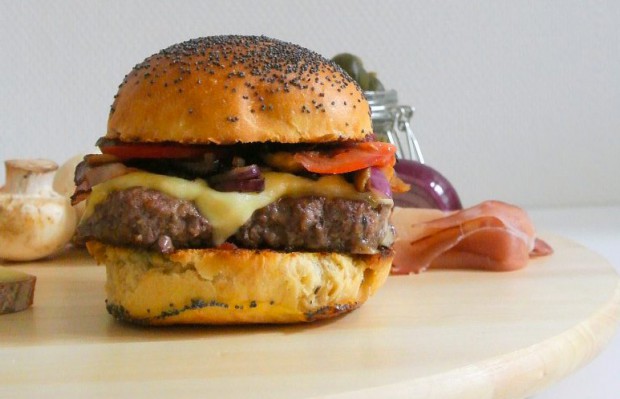 Recette de burger maison façon raclette
Bonjour à tous !Dans la série burger, je vous propose celui au fromage à raclette ! Une recette idéale pour l'hiver.Ingrédients 3 buns (vous pouvez les faire maison)3 steack hachés bouchers1/2…
-

Comme toutes les mamans, je suis une femme très occupée au quotidien. Grande amatrice de bons plats, j'ai cependant toujours aimé cuisiner. Vous pensiez qu'être mère et cuisiner au quotidien était impossible ? Eh bien au travers de ce blog j'essaie de prouver le contraire ! Je partage ici des conseils simples et recettes faciles pour cuisiner gourmand. Sucré, salé, entrées, plats, desserts, tout y passe. Je ne prétends pas être une grande cuisinière mais je suis une adepte du fait maison alors j'espère que vous comprendrez ma philosophie. Je vous souhaite une bonne visite et bien sûr une bonne dégustation ;)